
Oct 18, 2026Bike Accessory Buying Guides
Custom Passenger Cushions: What to Measure Before Sampling
Developing a passenger cushion for a longtail bike? Check rack dimensions, mounting points and clearance before sampling, then confirm the fit on the actual bicycle.
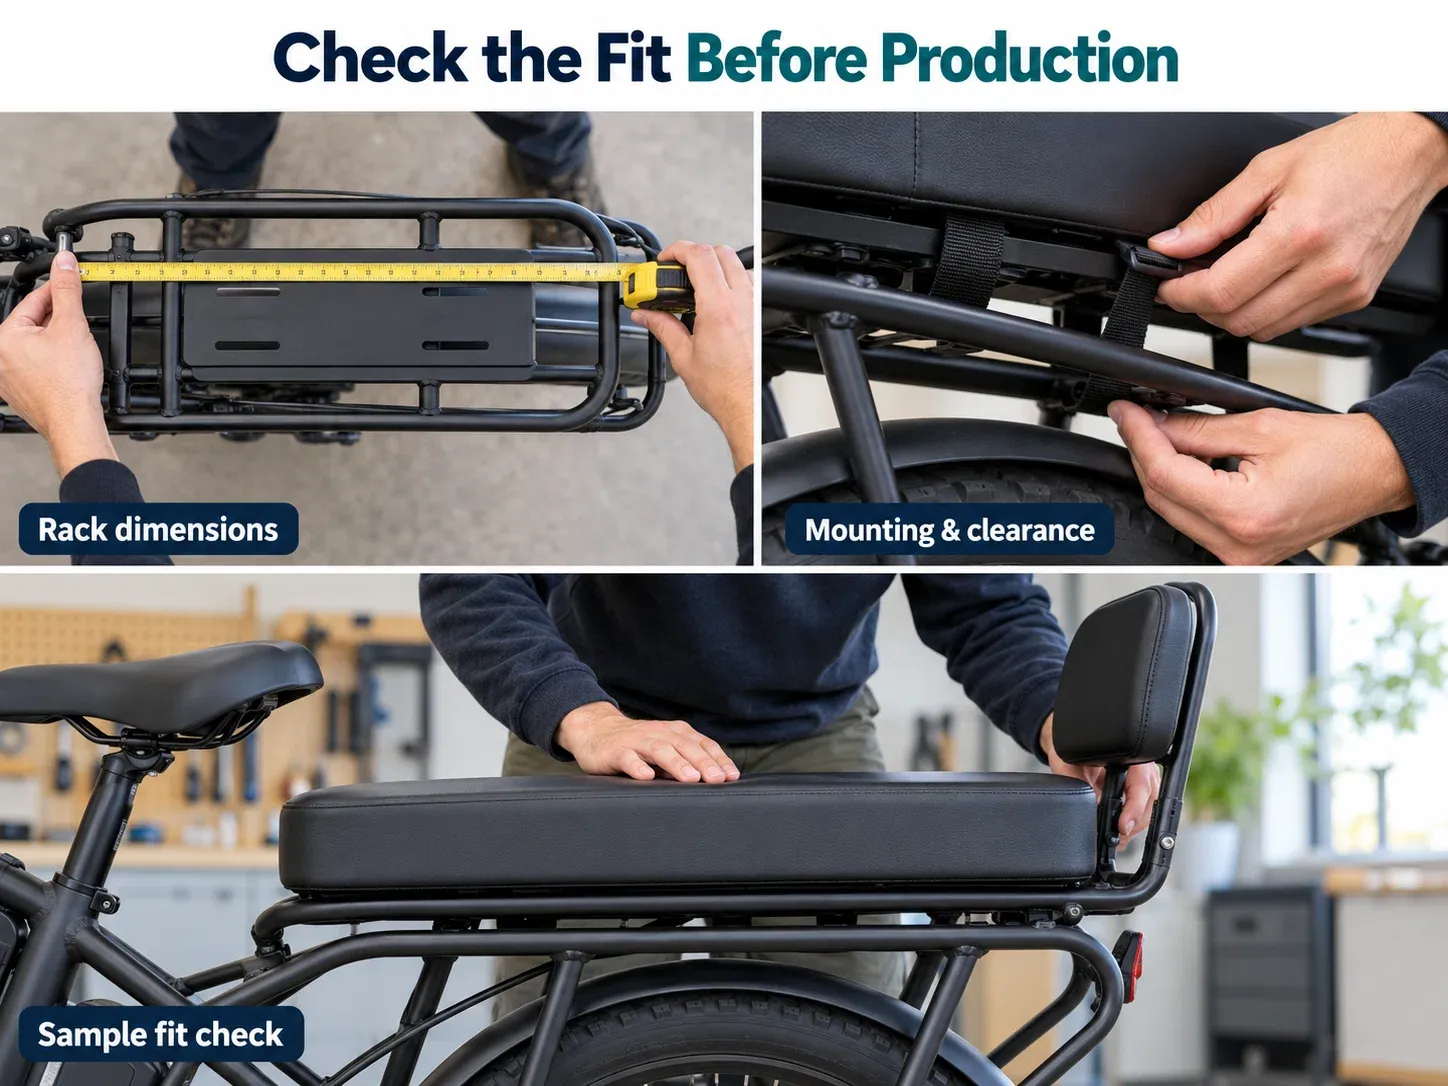
Custom Passenger Cushions: What to Measure Before Sampling
A passenger cushion can look right in a photo and still fit poorly on the bike. The rack may be narrower, the straps may land against a light, or the front edge may interfere with the rider’s saddle.
For bicycle brands developing longtail accessories, checking these details before sampling helps reduce avoidable revisions. Start with the exact bike model and its intended passenger setup.
Six Fit Checks to Send Your Supplier
What to check | What to provide |
|---|---|
Usable rack width | Measure the area where the cushion will sit. Include front and rear widths if the rack tapers. |
Usable rack length | Measure the available seating area and show anything that occupies it. |
Rail layout | Record relevant rail spacing, tube diameter and crossbar positions. |
Mounting locations | Show where straps or other fixings can attach, with nearby cables, lights and accessories visible. |
Front clearance | Photograph the space between the cushion area, saddle and surrounding frame parts. Include the saddle position used for the fit check. |
Backrest interface, if required | Show the backrest position, fixing points and available space. Confirm whether it is part of the cushion project or an existing component. |
Use millimetres and state whether rail spacing is measured between inside edges or centre-to-centre. A clear measurement reference avoids two people interpreting the same number differently.
A side photo can show frame angles and possible conflicts. If an angle is critical, agree with the supplier how it should be measured rather than estimating it from an angled photograph.
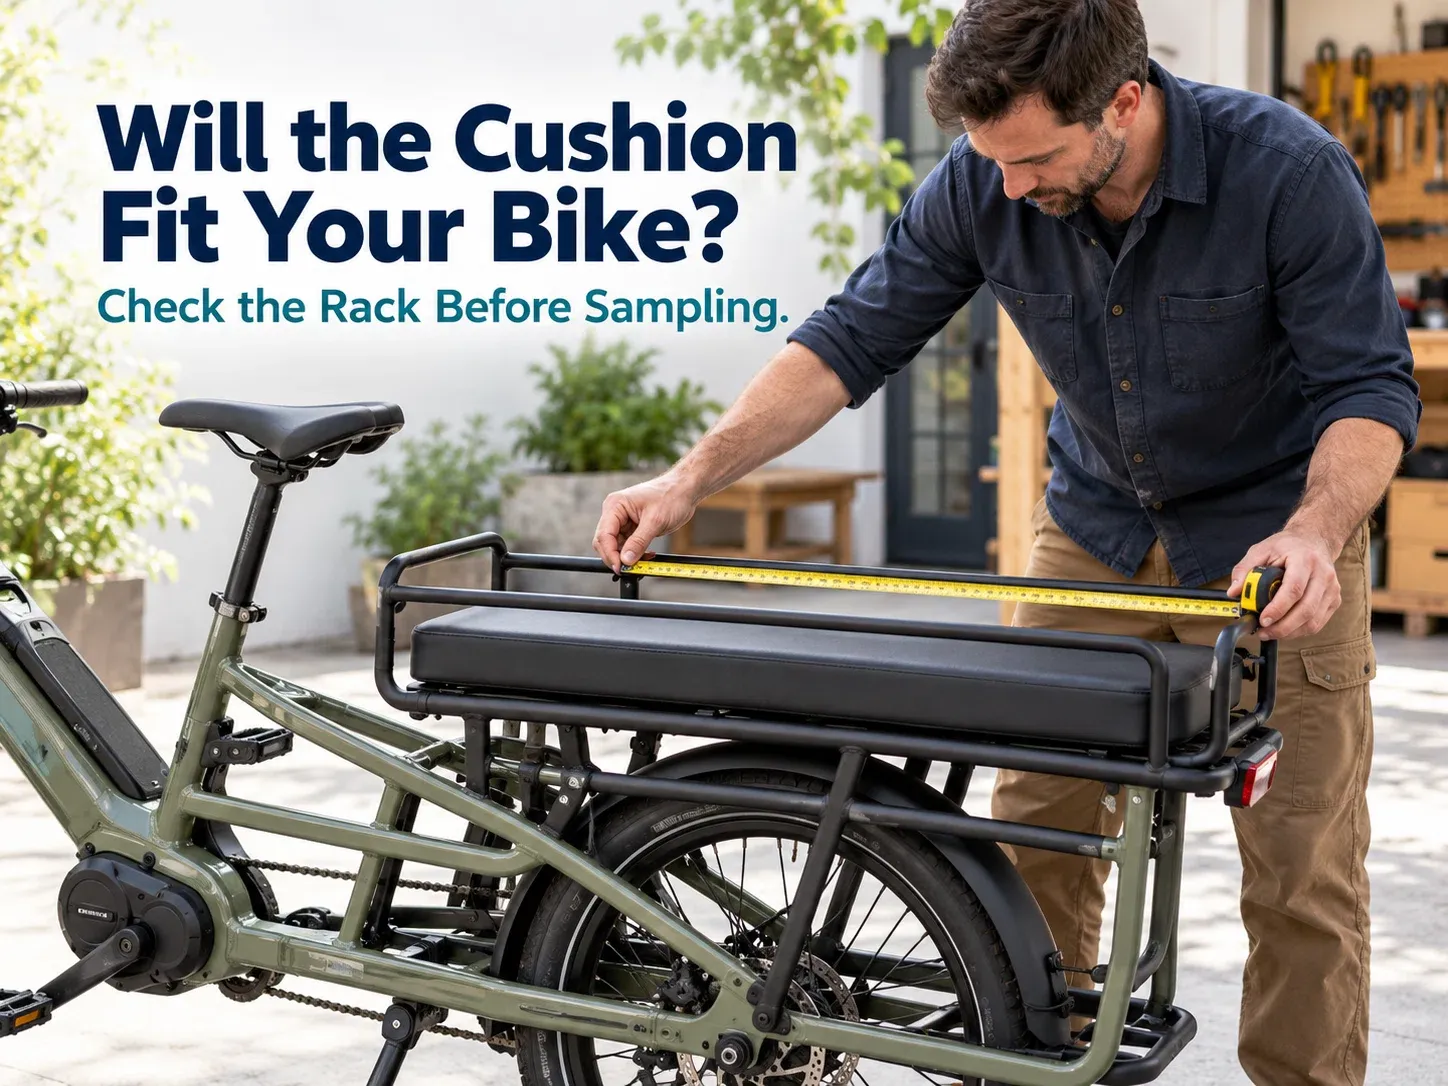
Send Photos Alongside the Measurements
Three views are a useful starting point: a full side view, a top-down view of the rack and a rear three-quarter view showing the mounting area.
Add close-ups wherever a strap, rail or accessory could interfere. Keep a ruler or tape measure visible where practical, and photograph the bike in the configuration the cushion must fit.
Also tell the supplier:
- The bike model, model year and relevant size or rack version.
- Intended passenger use and the bicycle manufacturer’s requirements.
- Whether the cushion must coexist with a child seat, pannier, safety rail or other accessory.
- Preferred attachment method and how often the cushion needs to be removed.
Check the Sample on the Actual Bike
Measurements and photos help us develop the first sample, but they do not replace an installation check.
Fit the sample to the intended bicycle. Check that it sits as planned, the attachments are accessible, and straps stay clear of moving parts and other bike functions. Review the backrest interface if one is included.
Record changes with measurements and photos. “Move this strap attachment 20 mm rearward” gives the factory a clearer instruction than “the strap feels awkward.”
If your range includes several rack versions, confirm which versions have been checked before approving a shared cushion design.
Choose Comfort Materials Alongside the Fit
Once the available space is clear, agree the cushion thickness, foam firmness, cover material and expected weather exposure. Thickness affects both comfort and clearance, so review these choices together.
Keep the approved sample, dimensions and attachment details as the production reference.
Developing a Passenger Cushion for Your Bike Range?
Send Yagoobag your bike model, rack photos and available measurements. We can review the mounting area with you and identify any details needed before quoting and sampling.
Samples typically take 7–12 days after the specification is agreed, depending on the design and material availability. Final fit should be confirmed on your bicycle before bulk production.